Tarifa kitesurf guide
The wind first, then the board
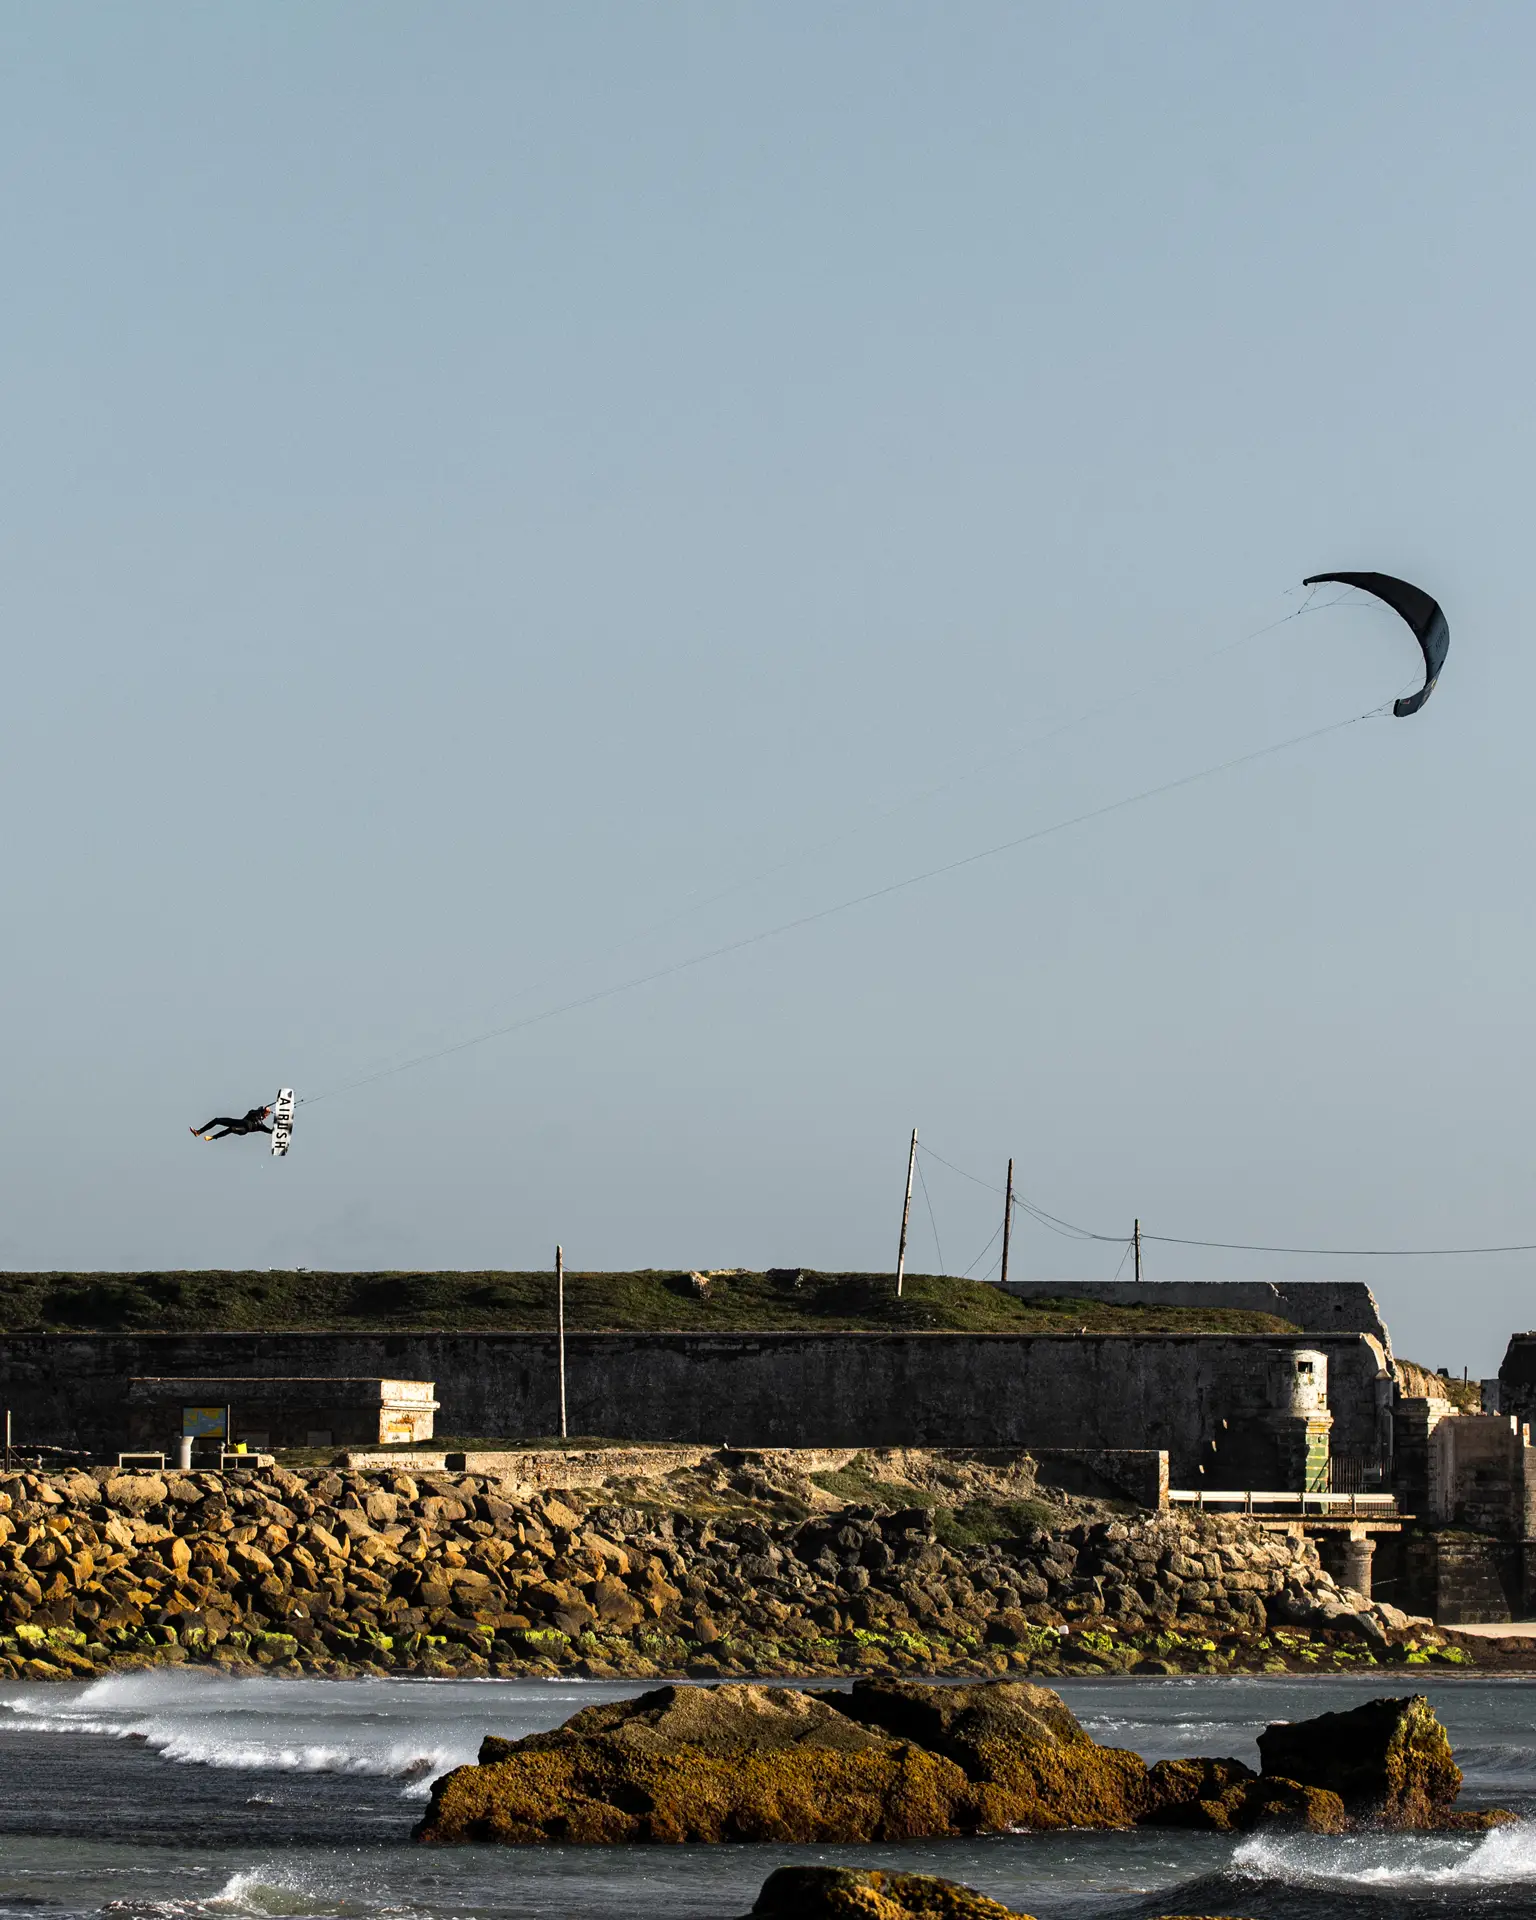
Honestly, kitesurfing does not start on the board, it starts with the wind — reading a kite and taming it. It sounds like theory at first, but it is exactly the part that gets you hooked later. We go through it with you calmly here, so your first hours on the water in Tarifa run more relaxed — and safer.

As of September 2026
Meant to read before your first lesson — you go on the water with an instructor, not with this text.
- The order
- Kite control before the board
- Safety cascade
- Sheet out → chicken-loop release → leash release
- Golden rule
- Control over power, not power
01 · Your system
Kite, bar, chicken loop and harness
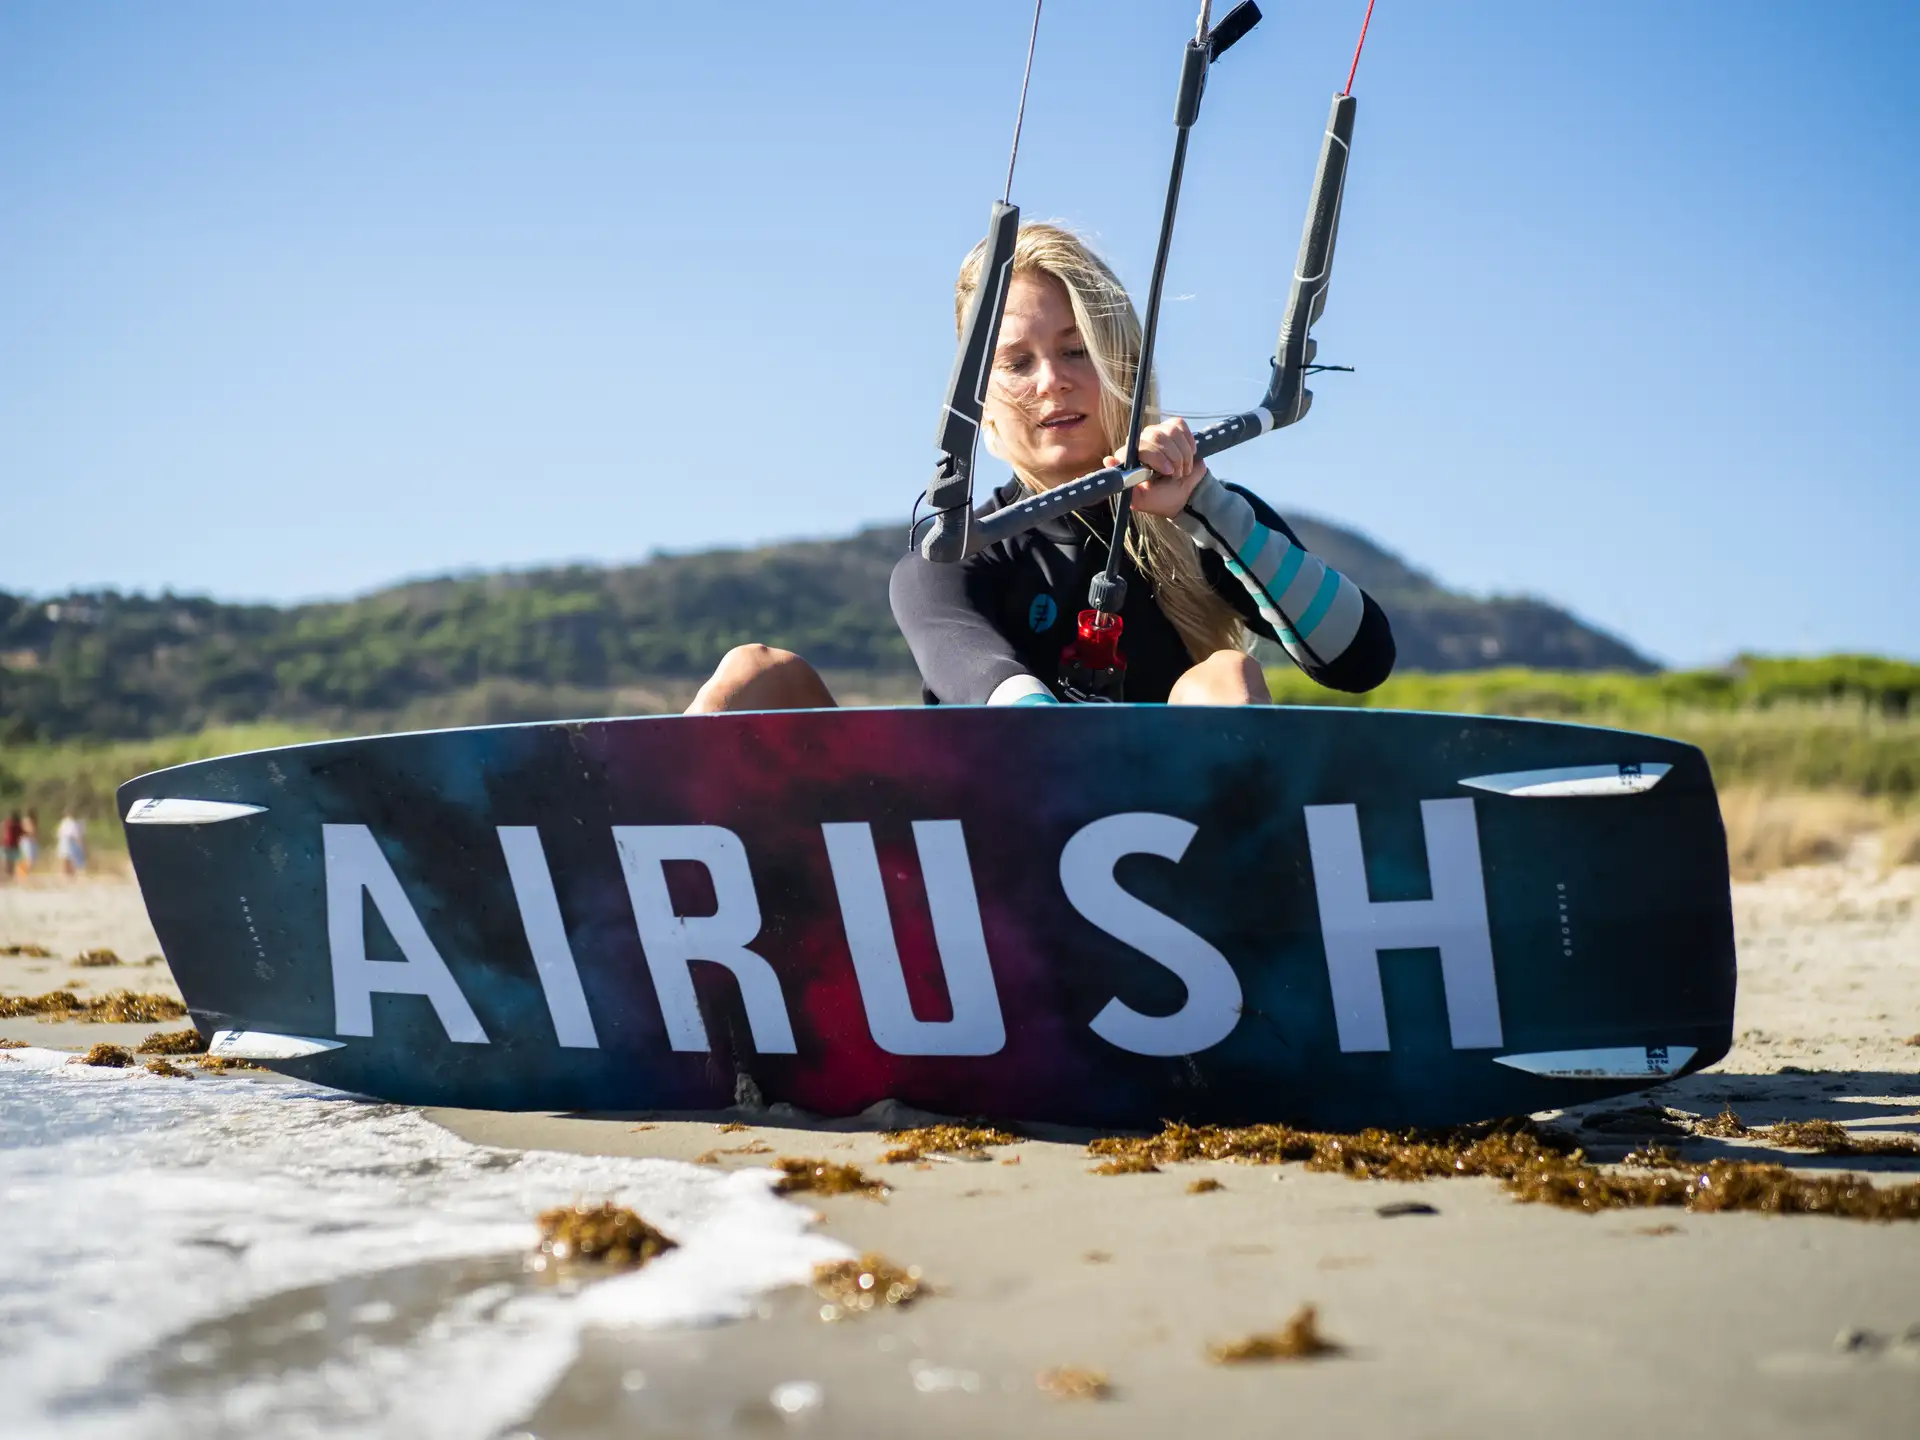
Think of the kite as the motor: the wind drives it, and it turns that into pull. The lines carry the pull to the bar; the bar steers left and right and, on a modern depower kite, also changes how much power you feel. The chicken loop connects the bar to your harness — and it usually carries your most important quick release.
The most useful habit from day one: the harness carries the pull, your hands only steer. Clinging to the bar with both arms means the system is fighting you. Hands light, kite calm.
02 · The wind window
Where the kite makes power, and where it rests
Stand with your back to the wind and imagine a giant half-clock in front of you. The edges — near 9, 12 and 3 o’clock — hold little pull, which is why launching, landing and parking the kite happen there. Deeper and lower, towards the centre, is the power zone. Send the kite quickly through it and it pulls hard; that is the controlled impulse a water-start needs, and the unwanted surge a careless steering move creates.
A common beginner idea is that a bigger kite simply means more power. It is not that simple: power depends on wind strength, position in the window, flying speed, trim, board, rider weight and the kite model. That is why kite size is a decision for your instructor, never a copy of what the next rider is on.
And a small trick before you even look at an app: you can feel the wind direction yourself. Turn your face slowly until it pulls evenly on both ears — then you are facing straight into the wind. Often the air already tells you what is coming: when it is warm, it is usually Levante from the east; when it is fresh, Poniente off the Atlantic. No substitute for the forecast, but your first own feel for the wind.
The wind window
Where the kite makes power, and where it rests
Instructors talk in clock positions. The edges and the zenith stay calm; much of your early control and body-drag happens around 11 and 1; and the pull builds as the kite crosses the centre — the power zone.
Before any launch, run a check: wind direction and where you drift if everything stops, wind quality, weather, clear downwind space, a safe launch area, water hazards, the right kite, lines untangled, and a quick release you can find with your eyes closed. Beginners want side-onshore or side-shore wind and plenty of room; offshore wind is a clear no.
Modern bars have a safety cascade: first let the bar out to lose most of the pull; if that is not enough, release the chicken-loop quick release so the kite flags out on its safety line; in a real emergency, release the leash for a full separation. The exact motion and reset differ between systems, so you train it on your own bar — and you practise self-rescue on a good day so you can do it on a bad one.
03 · Safety first
Plan how the session ends before it starts
The safety cascade
Three steps, always in order
Too much pull or loss of control? You escalate only as far as you need to.
- 1
Sheet out
Let the bar out. On a working depower kite, most of the normal pull disappears.
- 2
Chicken-loop release
Not enough? Trigger the quick release; the kite flags out on its safety line.
- 3
Leash release
Real emergency only: release the leash for a full separation from the kite.
The exact motion, flag-out and reset differ by bar and manufacturer. Learn and practise it on your own system, with an instructor — this is a principle, not a manual.
04 · The learning path
You earn the board by making kite control boring
The order that saves the most frustration is the one schools use: theory and the wind window, dry safety practice, a trainer kite to program your hands, calm control with a full kite, power and directional body-drag, relaunch, then the water-start and first rides, and finally holding and running upwind. Progress is measured in skills reliably done, not in hours logged.
Body-drag deserves patience even though the board looks more exciting: it is how you recover a board after a fall, and it is a core safety skill, not a chore to skip. When the water-start comes, let the kite lift your hips over the board rather than pulling yourself up against it.
The same kite stay
Turn preparation into a booked first day
Kite school in Tarifa
Book real lessons on the water: semi-private, private or Help 2 Kite.Kite equipment & rental
Rent everything in current material, coordinated through AMARA and waiting at the apartment.Wind & safety
Read a Tarifa forecast before you trust it, plus the rules and rescue on the beach.Keep exploring
More kitesurfing in Tarifa
Once the basics click, this is where the Tarifa kite world opens up.
Your direct-booking advantage
What we recommend to friends is in the Guest Guide.
Book directly with us and the AMARA Guest Guide for Tarifa comes with your stay: the addresses we give our friends, and the details that make the day easier.
- Our addresses in Tarifa: restaurants, beaches, walks, some of them only there
- Phone or WhatsApp for reservations
- The way from your front door, in minutes
- What we experienced there ourselves
Stay in Tarifa
Arrive prepared, learn on the water
Reading the wind, the safety cascade and the learning path before you arrive makes your first lesson calmer and safer. From Family & Surf you are minutes from the beach, and we coordinate lessons and gear with the club so the equipment is at the apartment and the only thing left to do is get on the water.